Wednesday, April 29, 2015

Nerf Sharpfire


Is it a bird? Is it a plane? No, it's a Nerf gun. The real question is this: is it a pistol? or a rifle? maybe a carbine? I think Hasbro got a little carried away when they designed this gun. I suppose they wanted to make another gun that had the same marketing ploy that the Recon CS-6 had -- many configurations. It's "modular". But why not just buy a Retaliator?

Whatever Nerf was planning when they made this, didn't involve much tacticool. :(
Ah well. After all, it shoots like a thunder-bolt.

Here's the scoop:

Good:
  • Simple. The Sharpfire is very simple and intuitive in both operation and build.
  • Collapsable. If you don't have much storage space, this gun is for you. It can shrink down to less than 12 x 6 x 1.5 inches.
  • Surprisingly accurate. For some reason, this gun is much less susceptible to wind and other environmental features (like gravity) that decrease accuracy. And you'll get even better accuracy with the barrel-silencer-thing attached. I guess it's pretty well-named.
  • Stock/Holster. That's right, the stock doubles as a holster, complete with a belt clip on the side.
  • Ranges. 65-70 feet with Elite Darts or Zombie Darts. And considering they didn't even make any range claims, and that it's a pistol, these are gooooood ranges.

Bad:
  • No tactical rails. This one really disappoints me.
  • Incompatible. In addition to being unable to accept Nerf tactical rail accessories, it is useless with any other accessories. And its accessories won't work on other guns. So much for being modular.
  • The stock. To be frank, it looks pretty silly and it's not in a very good position. Kinda useless.
  • Dart storage. The stock holds exactly 6 darts. Which I find interesting considering that the Sharpfire comes with ten Elites…
  • Holster system. It's a pain to put the main gun in its holster, because you're actually putting it on the holster. The pin that sticks in the back of the handle to attach the stock is also the pin the you stick into the front of the handle to "holster" it.
  • Uncomfortable handle. I honestly have no idea why Nerf designed the handle like they did. I find it rather non-ergonomic. Hopefully you won't...

BUT I LOVE IT! The reason is that this gun can easily be modified to be a far better sniper's-choice than any other gun I've used. It can be made to reach much more than a hundred feet, and still be weirdly accurate. And you get all that performance in a nice, compact, simple package.

At $15, this gun is sooooo worth the buy! Head over to your nearest Target right now, and buy one. Now. Do it.

        ,,,,..
[˘˘˘˘7º''''''''''''''''''''

Tuesday, April 21, 2015

Mod: MEGA Centurion

Apologies for taking so long with this.

BE FOREWARNED. This is the craziest nerf gun I have ever tried to dissemble and reassemble, let alone modify. I'll give you a clue: if you don't like multitasking, this mod is not for you. The good side of it is that I was able to get a consistent 15-20 foot bonus in range, plus much better accuracy at range.
If you're willing to sacrifice your sanity for these advantages, proceed.

Difficulty: VERY difficult.
What you'll need: A strong person, a long, thin, hopefully magnetized phillipshead screwdriver, electrical tape, a place to keep screws organized.
Suggested: Needle-nose pliers and an insane amount of patience.


1. Remove stuff
You'll want to first of all remove the clip to keep things simpler later on.
The front barrel
Then get your strong person to pull the front barrel piece off. Don't worry, this won't damage the gun or the barrel, and you can put it back on when you're done if you want. Just pull it straight off the front, and you'll be fine. Final, crucial step before you take it apart: make sure it is de-primed. Otherwise it will explode. WILL.


2. Unscrew
There are 24 screws total in four sizes. Get organized, or stop here.
The screws come in short, medium, long, and LONG. The five short ones go on the tac rail and the farthest left spot. The two LONG ones go at the top of the stock and in front of the jam door. The three long ones go here:
The medium ones go everywhere else.
3. Clamshell
Pull the halves apart. The little orange piece in the tac rail probably won't go flying (for once), but it's still good to be careful.
The internals
4. Lock removal
The two locks you should remove are located behind the trigger system shown below.
The trigger system
This is what one of the locks looks like. The other one looks similar.
Trigger and locks removed

First, take out the 2 screws holding the trigger system in. Take that out, then pull out the two locks behind it. It should look like the picture to the right. Then put the trigger system back in. Make sure to slide the end under the catch system. Screw it back in.

5. AR removal/seal upgrade
First you need to take off the white gear and orange "gear shield". Then take out the whole big plunger system. In order to fully remove it, you need to unscrew the return spring, housed above the main plunger tube. After that, you need to unscrew three small screws that hold the narrow front section to the bulky rear half. Simply pull out the pieces shown below (along with the spring that comes with them), and screw the front back on.
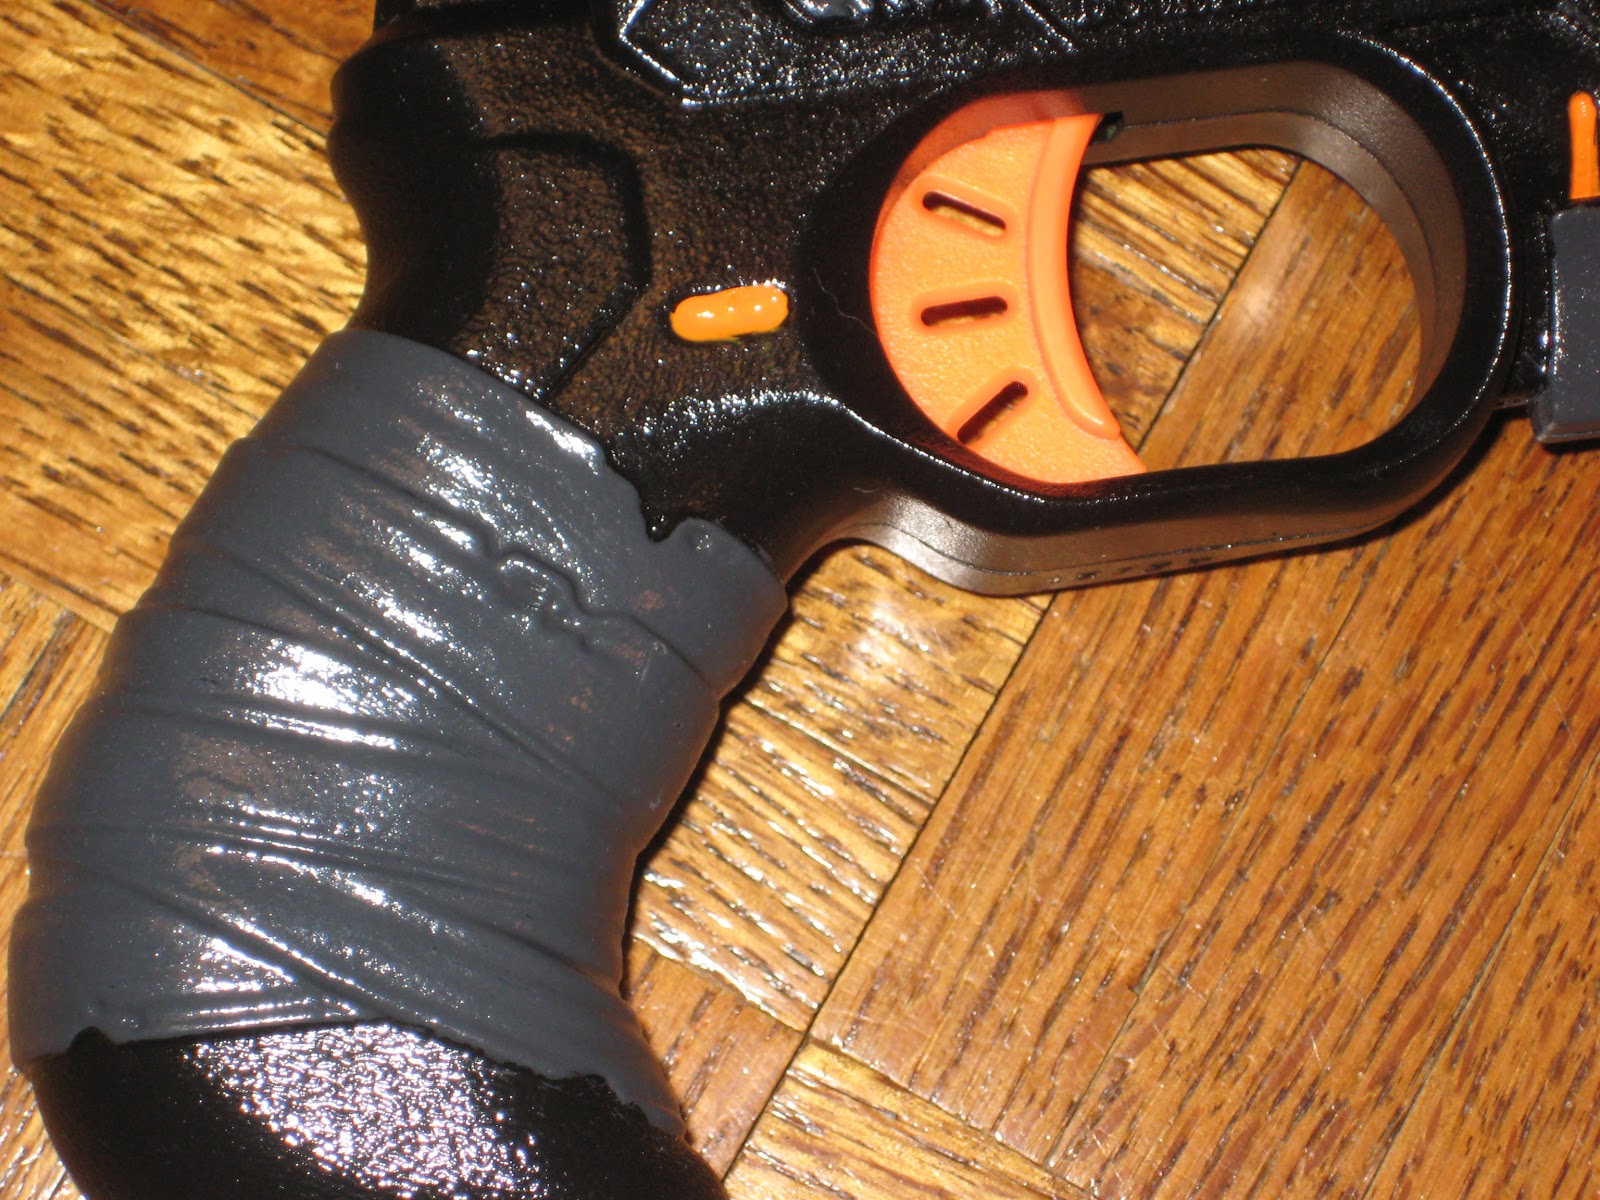
Then, take your electric tape and wrap it around the plunger tube to seal off the vents on the side.
One vent sealed, one to go.
Both vents sealed.

6. Extra improvements
If you want to make it easier to clear jams, you can pull out the jam door without affecting performance in the slightest. This is helpful for seeing when you're out of ammo so you don't dry-fire it. Another thing to do to make jams easier to clear would be to sand down the edges of the top of the clip so the darts can actually squish through the gap if you need them to. Additionally, if those green "priming indicators" bug you as much as they do me, you can safely remove the green parts ONLY. ----->

7. Homework
Take apart the clip well and remove the lock that prevents use when the barrel extension is not attached. You're on your own for this one, since I forgot to note down how to do it (and there is NO chance I'm doing it again). But I'm sure you can figure it out! Just remember to remove as little as possible, and keep track of where everything goes. Good luck!

8. Reassemble
Put everything back where you found it. You can use the picture above to try to tell where everything goes, and remember to screw everything in right. If you don't, you'll have to take it all apart again when the internals go kablooie the first time you try to use it. I'm sure you don't want that.
After everything's arranged, make sure that the priming handles are aligned, and put the top half back on. Easier said than done, so be patient.
When that's all through, you can screw it together. If you pulled out the lock in the clip well, you can stop here, leaving the barrel extension off to get slightly better range. Or, if you didn't, or you just like the tacticool "sniper" look of the complete Centurion, you can snap the barrel extension back on.


AND YOU'RE DONE!!!
Give yourself a pat on the back. Better yet, get someone else to give you a pat on the back. After all, you just disassembled, modified, and reassembled the Nerf MEGA Centurion. You deserve it.

        ,,,,..
[˘˘˘˘7º''''''''''''''''''''

Thursday, April 16, 2015

Teaser

I'm working on a rather long and detailed project, which I think you'll all like. However, I don't want to give away what it is. Here's a clue:

I'm painting a nerf gun, and I'll be giving it the best paint job I've done yet… I'm very excited!
However, it's up to you to theorize what gun it is that I'm working on. :-)

As always, comments are welcome.
        ,,,,..
[˘˘˘˘7º''''''''''''''''''''

Tuesday, April 14, 2015

MOD: Nerf DoubleStrike

Finally, the Mod Guide for the Doublestrike!

Really, there's hardly anything you can do to improve the performance of the Doublestrike. You can't remove the air restrictors because of the "Smart AR" system it uses. You can't really upgrade the spring because it's already so tough. And there's no need to upgrade the seal, because it's already about as good as it gets. If you want to get better performance, here's LordDraconical's mod guide:

If you do want to take it apart for some reason, though (like to paint it), here's my input.

Difficulty: Easy
What you'll need: A phillipshead screwdriver.

1. Unscrew
There's seven silver screws to remove. They're all the same size, so you don't need to worry about which screw goes where. Keep them in some sort of bag or container, so you don't lose them.

2. Clamshell
Take the top half off and set it aside. Be careful that the little orange piece on top doesn't fly out.

3. Reassemble
Closeup of the internals
Assuming you have already taken out the internals and done whatever it was you wanted to do in the first place, here is how to put it all back together. Lay the trigger spring over the left metal post, then patiently place the trigger on that metal post so that the upright part of the spring fits into the tiny hole in the top of the trigger. That done, slide the spring over the cocking mechanism, slide the cocking mechanism/plunger into the barrel assembly, and arrange it all back into place. Then take the spring stopper and place it over the posts at the bottom of the handle such that it also fits over the spring.
The "shield"
Finally, place the "shield" piece (shown to the left) back over the pins to hold everything in.  Then place the tiny orange piece back under the tac rail, and lay the other half of the shell back on. And you're done.


        ,,,,..
[˘˘˘˘7º''''''''''''''''''''

Thursday, April 09, 2015

Painted Doublestrike

I like Black. Don't ask me why; I have no clue. I just know that I like Black.

Conveniently, Black happens to go very well with Nerf orange. One need only look to the Gear-Up series to prove this. Sadly, Gear-Up was discontinued, and most guns don't have an orange-and-black paint job. Let's fix that, shall we?
Pardon the fuzzy.

In my opinion, the Doublestrike never looked so good. And the nice thing is that it was very easy to paint, since all of the little pieces were orange. All I had to do was paint the shell.

Here's what I did:
1. Sand
I took the gun apart, then gave each half of the shell a good sanding prep. Drac has a good explanation of how to do this in most of his mod videos.

2. Spray Paint
I gave it several coats of gloss black spray paint. 'Nuff said.


3. Hand Paint
I gave it a cool detail job with a thin paintbrush and a few acrylic paints.
The "cloth wrap" handle


The orange parts
were all left orange.


4. Clear Enamel Coat
After the paint had plenty of time to dry, I took the shell back outside and gave it one or two coats of clear spray enamel. Let that dry, screw it together, and…

5. Voila!

Tuesday, April 07, 2015

Why choose Nerf?

Here is a video that hilariously sums up the reasons to choose Nerf over things like airsoft.
Bio: Coop772 is a Nerf modder/reviewer, well known in many nerfing circles. He has been nerfing for some time now, and he has finally decided to quit. "So long, nerdz!!!"


        ,,,,..
[˘˘˘˘7º''''''''''''''''''''